
Utilizing the Contents of a SharePoint Image Column Elsewhere
Posted on February 27, 2023 • 6 minutes • 1153 words
Table of contents
So I recently met with someone who had a conundrum. They had a SharePoint list with an Image type column, relatively new-ish, and they wanted to post the contents of this column to Teams on a regular cadence, along with other text column content. They had tried every dynamic content option related to the Image column in Power Automate and nothing was working. I found quite a few blog posts that got us close, but not all the way. An hour or two later led to this…
The SharePoint List
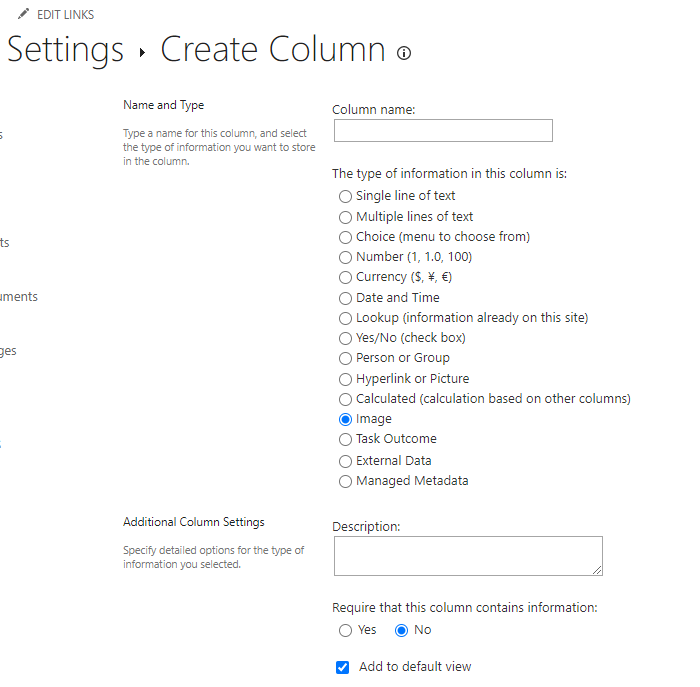
Just to be thorough, we are talking about a SharePoint list with this type of column:
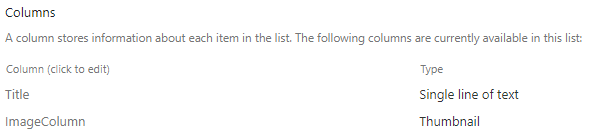
If you aren’t sure if you are working with an Image column, when viewing List Settings, it says the Type is “Thumbnail”:
So, I built a SharePoint list just for the sake of testing. This isn’t the actual use case, so expect cats.
The Power Automate Flow
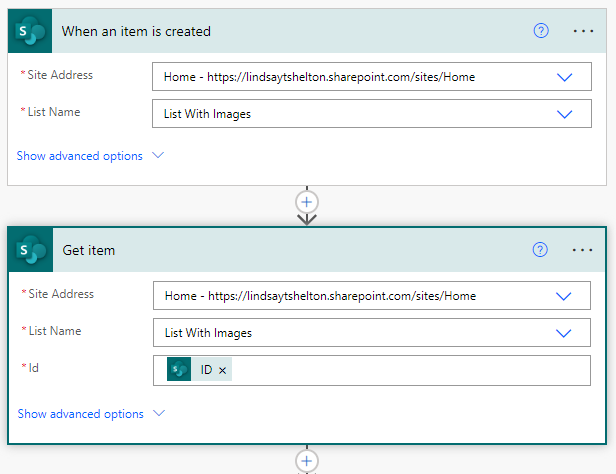
I built a flow with a “When an item is created” trigger, and threw a “Get item” block on there as well, tied to my new SharePoint list.
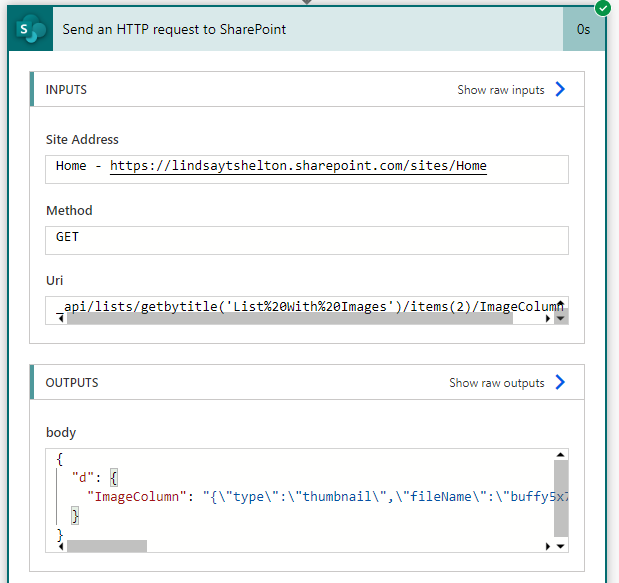
Now we start getting fancy. Add a “Send an HTTP request to SharePoint” block, and you are going to put in the following code for the Uri:
_api/lists/getbytitle('ListNameWith%20For%20Spaces')/items(@{outputs('Get_item')?['body/ID']})/ColumnName
The parts you need to change are in bold. Your list name goes in the parens and single quotes with %20 if you have spaces. So, with my example, my actual list name would be ListNameWith For Spaces. What you put after the last backslash is the name of your image column.
Here’s a slightly more readable version:
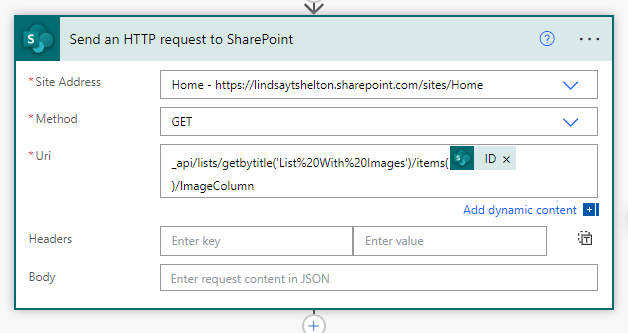
My list name is List With Images (note the spaces). My image column is named ImageColumn. The ID is just dynamic content – the ID for “Get item” or “When an item is created” (they should be the same).
Now, you will need to run your flow as you build to help you do each next step. Run your flow now and copy/paste the output of the Send an HTTP request to SharePoint action. It’s going to look short and funny.
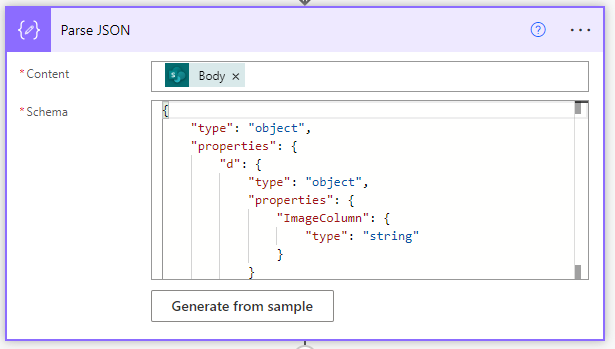
Create a new Parse JSON block. For the body, put the “body” dynamic content from Send an HTTP request to SharePoint. Then click “Generate from sample” at the bottom of the new block.
Paste in the JSON (the output) from the run into the box where it says “Insert a sample JSON Payload”. It should look like this:
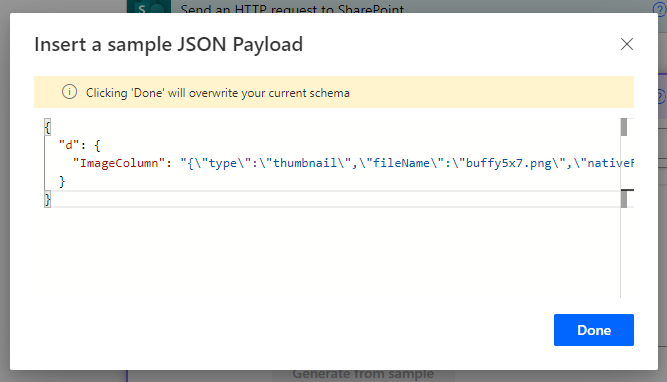
Then click “Done”. There will now be a formatted JSON schema for you in the Parse JSON box.
Run the flow again.
(Yes, there are probably easier ways to do this, but this is what I got working – the story of my life).
Now open your Parse JSON block after the run and look at the Outputs. It should look basically like what your output looked like before (which leaves me questioning again if we need this step, but I shall carry on).
Now, we are going to copy/paste again, but just copying and pasting a very specific part of the output:
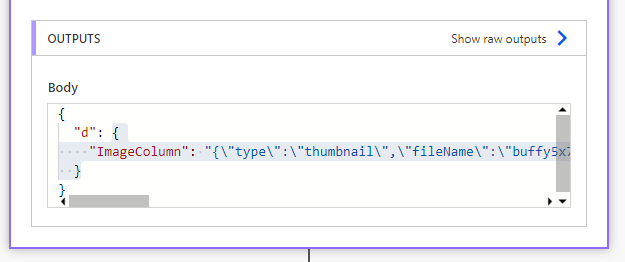
So, just the curly brace right before and right after the ImageColumn row and everything in the middle (your row will be called whatever your column is called).
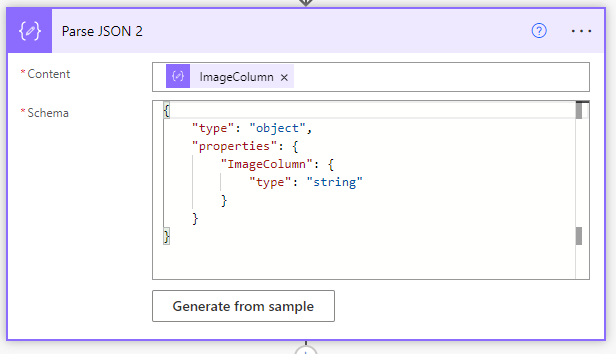
Make another Parse JSON block. The body? It should be the ImageColumn dynamic content from the first Parse JSON block. In case yours doesn’t come across preoprly, here’s the expression you can write to get it, replacing “ImageColumn” with whatever you named that column:
body('Parse_JSON')?['d']?['ImageColumn']
When you click “Generate from sample” again, this time we are just pasting in the shorter JSON that just includes the two curly braces in front and in back and the ImageColumn row.
When you click Done, your JSON schema should look like this:
Now, here’s where the Choose Your Own Adventure comes in. I chose to use an adaptive card to post in Teams. You could probably choose to do all sorts of things with this – know that what you get out of the second Parse JSON action is the following info:
{
“type”: “thumbnail”,
“fileName”: “buffy5x7.png”,
“nativeFile”: {},
“fieldName”: “ImageColumn”,
“serverUrl”: “https://lindsaytshelton.sharepoint.com”,
“fieldId”: “5ea0b5e7-7385-403c-b18b-29dcca3c8761”,
“serverRelativeUrl”: “/sites/Home/SiteAssets/Lists/f41aff47-f53f-40c6-b3ff-663c5cbbef0d/buffy5x7.png”,
“id”: “065e6ca1-7683-47ab-bb64-a50b8d66e9e2”
}
What will likely be the most useful to you is the serverUrl paired with the serverRelativeUrl, and that’s what I’m going to use. Keep scrolling for the code block if that’s all you need, but know that I’m going to go into a bit of high level Adaptive Card Designer stuff.
Teams Adaptive Cards
So, I hustled myself over to the Adaptive Card Designer and proceeded to strip out everything I didn’t need by clicking an element and clicking the X in the corner.
I then just used the Card Elements on the left and dragged them into the visual designer area until I had an image block and a text block.
Here are a few hints from a very infrequent user:
- Leave the Title text box alone so that you can see how one is formatted (size and weight are added to the JSON down below)
- Strip out the empty columns that are there too – keep it simple for your first one
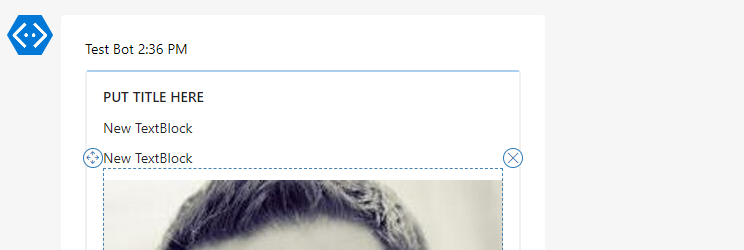
- If you want an image still there so you have sort of a visual, click the empty Image box and click “Bind”. Then click the “profileImage” option and you get this nice looking man taking up a huge part of your card. Don’t worry, the card scales to how big the image is.
- At the very top, where it says “Select host app”, change it to Microsoft Teams so you can see the subtle difference
- Down below where you see “Card payload editor”, change what is in “text”: “___” to something helpful to you. You will see what I changed mine too shortly.
All I needed was a title and an image, so I was ready. If that’s all that you need, I’ll just give you my JSON.
{
    "type": "AdaptiveCard",
    "body": [
        {
            "type": "TextBlock",
            "size": "Medium",
            "weight": "Bolder",
            "text": "PUT TITLE HERE"
        },
        {
            "type": "Image",
            "url": "${$root.creator.profileImage}"
        }
    ],
    "$schema": "http://adaptivecards.io/schemas/adaptive-card.json",
    "version": "1.4"
}
Add a new block, Post adaptive card in a chat or channel, and configure the options to your liking.
Where it says “Adaptive card”, that’s where you will now paste your JSON and edit it with your dynamic content.
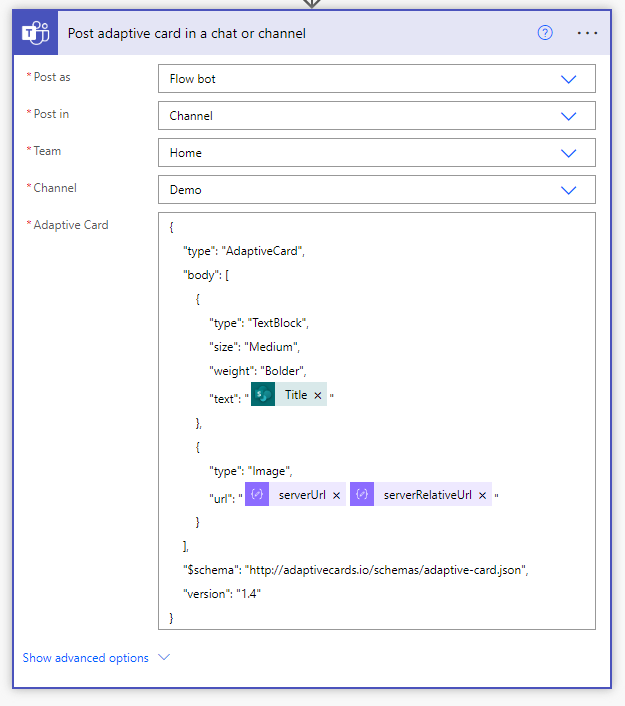
When you have “text”: “___”, you can put dynamic content right in between the second set of quotation marks, like I’ve done with my title field.
As for the “url” for my Image field, here’s the two expressions I had to type in. Modify based on your block name (if you change it to be something better than Parse JSON 2):
body('Parse_JSON_2')?['serverUrl']
body('Parse_JSON_2')?['serverRelativeUrl']
Make sure there are no spaces between the two and that they are placed between the second set of quotation marks, so “url”: “serverUrlserverRelativeUrl” if I was just writing it out.
Run it, and hopefully, voila!